Verify Counters
If you already created invoices before and you want to continue the number from a specific number, please adjust the counters first. Choose the option “Properties” from the “File” menu, go to the tab “Counters”. In the field “Invoice number” you enter the last number you used. So if the last number was 20190264 use that number. The next invoice will automatically get the number 20190265 if you don’t specify it yourself.
Create a new invoice
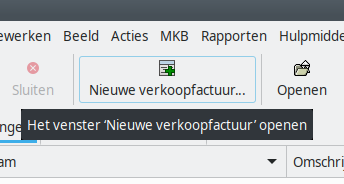
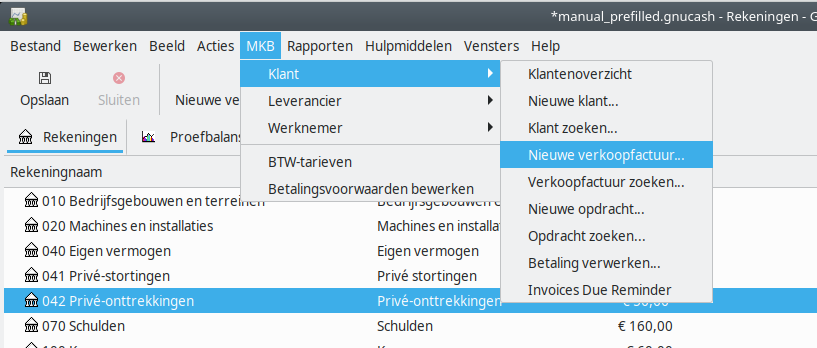
Click on the button “New Invoice” or go to menu “Business”, option “Customer” and suboption “New Invoice…”.
You now get the dialog “New Invoice”.
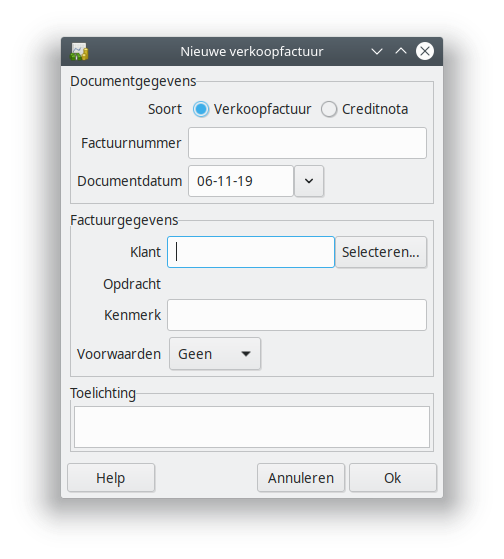
You will see following fields:
- Invoice ID: You can normally leave that empty, unless you have a specific number in mind.
- Date openened: The date of the invoice, set automatically to the current date.
- Customer: Type a (part of) the name of a customer, or use the select button to select a customer
- Job: You can leave this empty
- Billing ID: You can leave this empty
- Terms: Select a billing term for this invoice
- Notes: You can put here a note which will be included on the printed invoice
Click OK.
You get the input window which allows you to input items on the invoice.
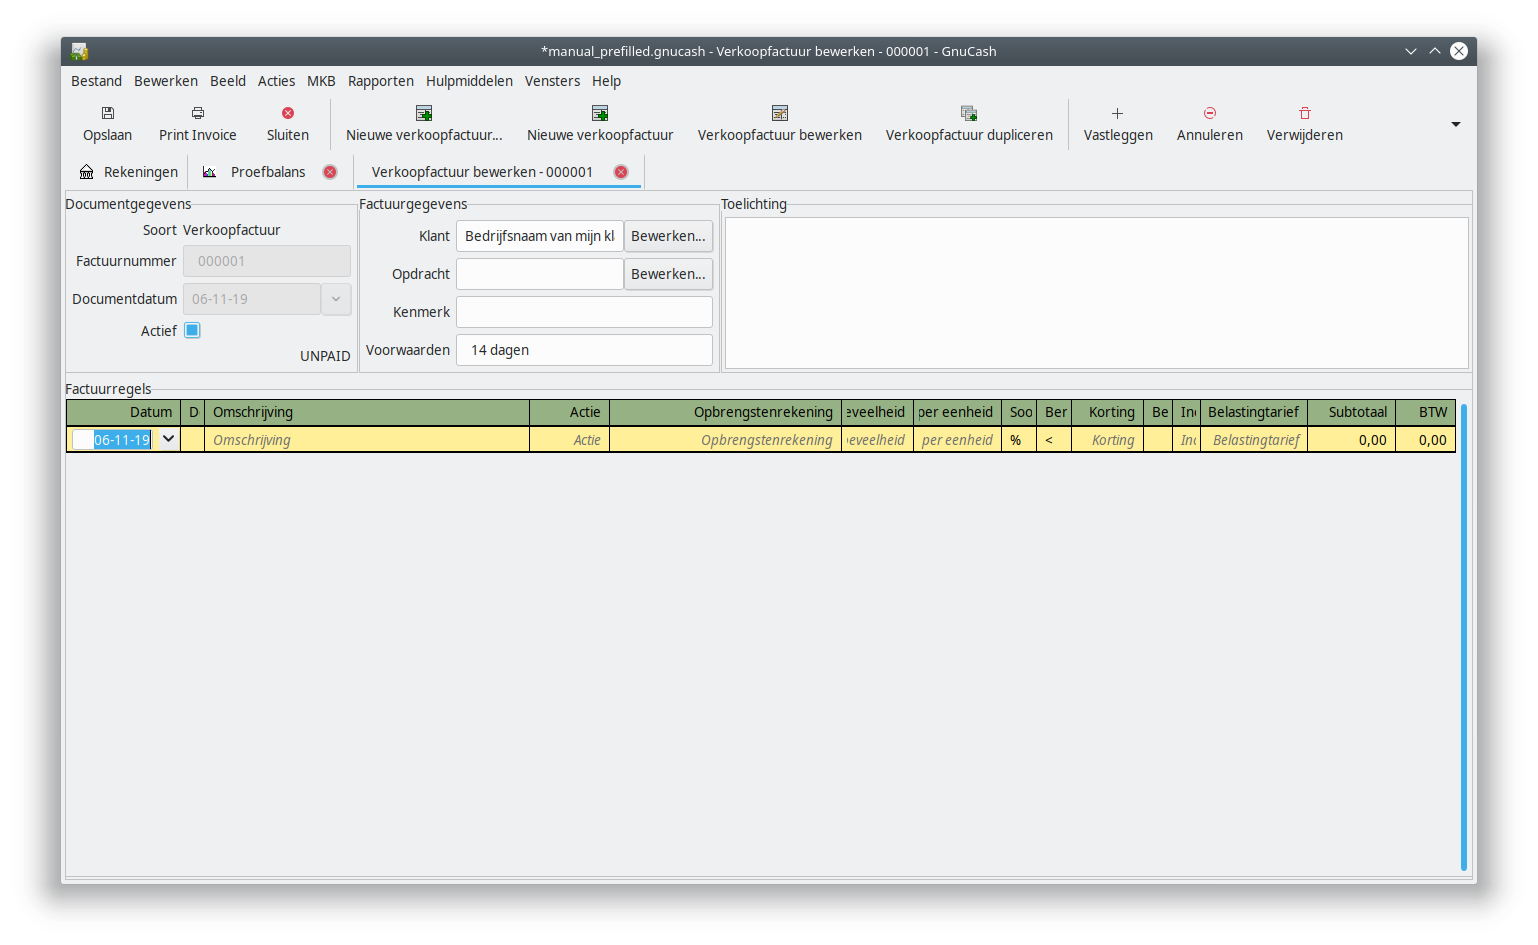
For every item on the invoice you can create a line. We will first describe most of the columns you will probably use the most.
- Date: Automatically this is filled with the date of the invoice. You can adjust this date if the item you are entering related to a different date.
- Description: Put here a clear description of the product or service.
- Income Account: Choose the account that fits the VAT-rate. If the product or service carries a 21% VAT, choose the account “800 Revenue 21% VAT”. If the product or service carries 9% VAT, choose the “801 Revenue 9% VAT” account and for a product or service without VAT choose the “Revenue 0% VAT”
- Quantity: The number of units, for example 8 (hours) or 1 (piece).
- Unit Price: The price per unit
- Taxable?: Indicates that this unit has an associated VAT rate
- Tax included?: If marked, the unit price includes VAT
- Tax table: Which tax table this unit carries.
The fields Subtotal and Tax will be automatically calculated based on the chosen tax table amd the other numbers in this line.
Start from the price including VAT
Usually you would enter the price without VAT, but there are situations where you rather would like to decide on the amount including VAT. In order to do this, mark the field “Tax included?”. It will calculate the price without VAT and the tax from the unit price.
Extra fields such as Discount
If you want to give some discount on an item, you first choose what kind of discount in the “Discount Type” field, being either a percentage (indicated with %) or a fixed amount (indicated by the currency symbol). You can switch between these options by clicking on the % or the currency symbol. In the field “Discount” you can enter the number, representing the percentage or amount of money.
Editing invoice information
You cannot change the invoice number, customer or billing terms from the input window. In order to change this, choose “Edit Invoice” from the toolbar. You will see now the same dialog you used to create the invoice. The field “Notes” you can change in the input window.
Verify Invoice
By clicking the button “Print Invoice” in the toolbar, you will get the overview window of the invoice. You can also open this window through the menu “File” and the option “Print Invoice”.
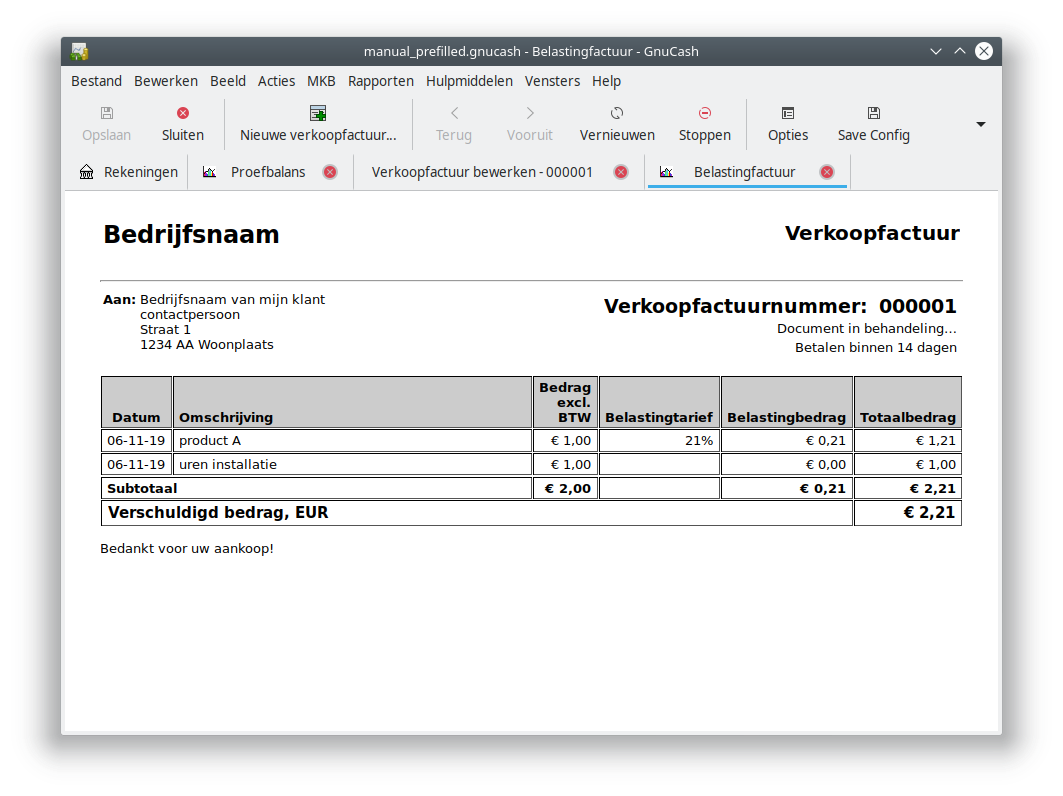
You will see that in this example the company info has not be entered yet. If you didn’t enter this info, please do it now. Close the tab tab “Tax Invoice” and follow the instruction at Enter Company info.
Posting Invoice
If you are happy with the contents of the invoice, click on the button “▾”. This button provides a pull down menu shows extra options that won’t fit on the toolbar.
![]()
Choose the option “Post invoice”. You now get a dialog.
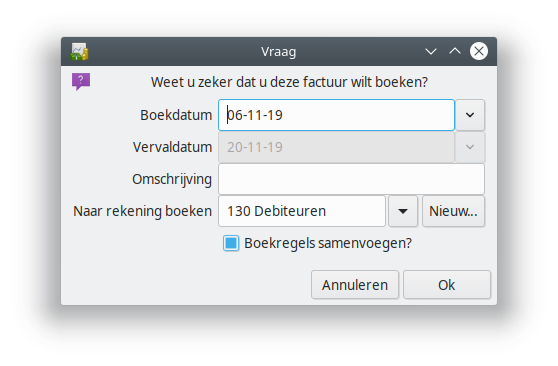
You will see the following fields:
- Post Date: The date the invoice will be posted in the administration
- Due Date: This date is calculated automatically based on the billing terms (in this case 14 days)
- Description: You can leave this one empty
- Post to Account: Leave this set to “130 Accounts Receivable”.
Click OK to post the invoice.
You now created and posted your first invoice!